Mail on Mac guide · Inkmivo
Add a handwritten signature image in Mail on Mac
Mail on Mac lets you place an image in an email signature. Download your handwritten PNG from Inkmivo, then drag the file into Mail’s signature preview. Check a message you send to yourself before using it in regular mail.
Apple Mail User Guide checked 7 October 2026
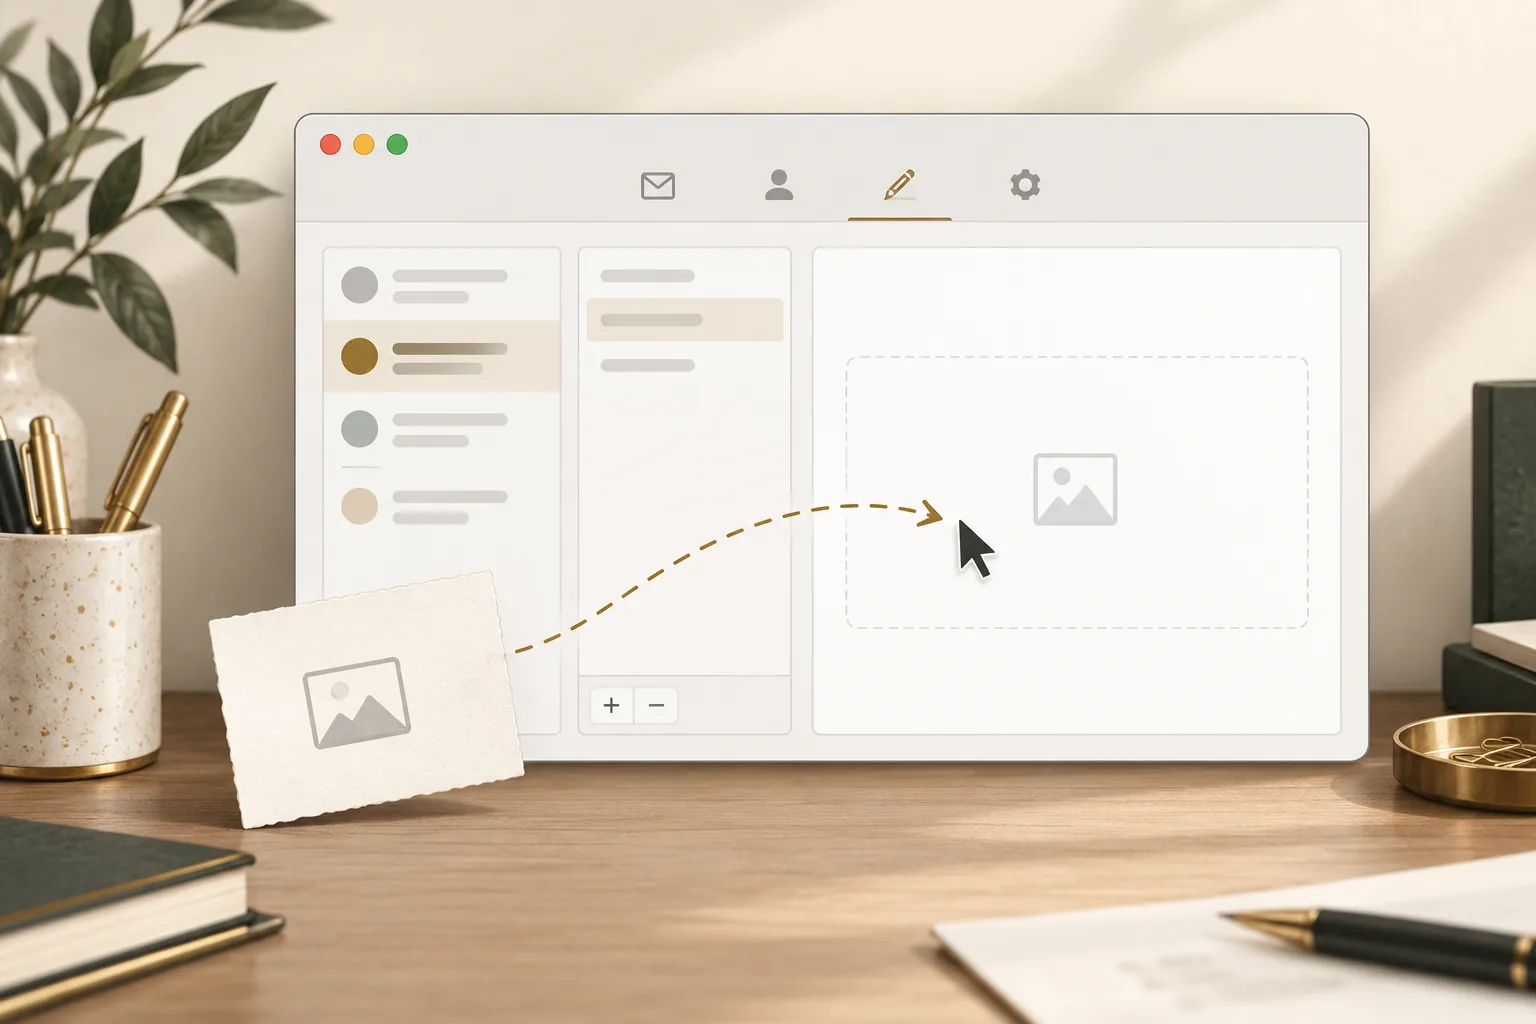

Put the PNG in your Mail signature
- Create a signature from your name in Inkmivo and download the transparent 1200 × 400 PNG to your Mac.
- Open Mail, choose Mail → Settings → Signatures, and select the email account in the left column.
- Click the plus button under the signature list, give the new signature a name, then drag the downloaded PNG into the preview area on the right.
- Open a new message, choose the signature if needed, and send yourself a test. Check the message as it arrives, including the image size.
If the picture does not appear
Make sure the signature belongs to the account you are sending from. If you created it under All Signatures, drag it to that account in Mail’s settings. Open a fresh message and choose the signature from its menu; check the received test email as well as the editor.
Keep the image readable
The Inkmivo download is a transparent PNG. Keep the original file. If it fills too much of an email, make a smaller copy before dragging it into Mail; keep the same proportions. Apple’s instructions for adding an image to a Mail signature are here: Apple Mail User Guide · iPhone Mail signatures · iCloud.com Mail signatures
Mac, iPhone and iCloud Mail differ
These steps are for the Mail app on a Mac. Apple says iPhone Mail signatures can contain only text, and iCloud.com describes a plain-text signature. Do not expect the Mac image setting to appear in those interfaces.
An email image is not an identity check
The PNG adds a handwritten look to your email footer. It does not prove who sent the message or sign a document with a digital certificate. Use a verified signing method when your recipient requires one.